Crafting Paper Snowflakes with Young Children: A Step-by-Step Guide
Introduction:
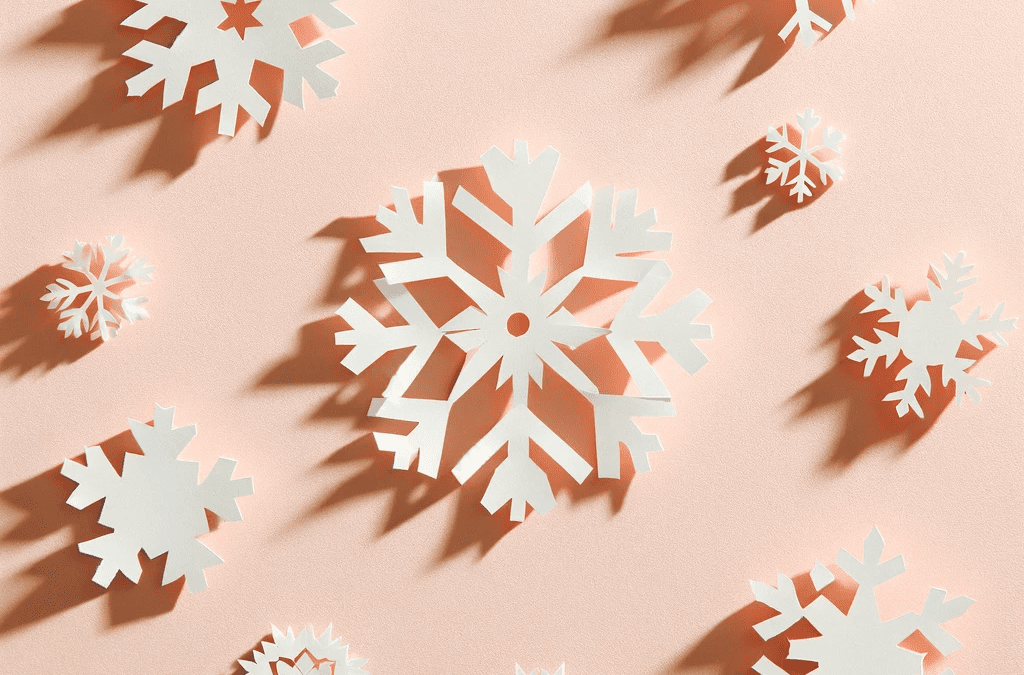
Creating paper snowflakes is a delightful and educational activity perfect for young children, especially during the festive winter season. It’s not only a fun way to engage their creativity but also an excellent opportunity to enhance their fine motor skills and understanding of symmetry. Here’s how you can guide them through this magical process.
Materials Needed:
- Square white paper (construction paper or regular printer paper)
- Child-safe scissors
- Optional: Glitter, markers, or crayons for decoration
- Optional: String and tape or a stapler for hanging
Step 1: Prepare the Paper
Start with a square piece of paper. If you’re using standard 8.5″ x 11″ printer paper, guide the children to make it square. Show them how to fold one corner to the opposite edge to form a triangle, then cut off the extra rectangular strip at the bottom.
Step 2: First Fold
Fold the square paper diagonally to form a triangle. Help the children align the edges nicely to ensure precision in their snowflakes.
Step 3: Second Fold
Fold the triangle in half again, forming a smaller triangle. This step is crucial for getting the six-pointed snowflake shape that mimics real snowflakes.
Step 4: Create the Sector
This step might need closer assistance. Hold the triangle with the longest side at the bottom and the right angle at the top. Fold the right third of the triangle towards the back, then fold the left third over the top of that. You will end up with a narrower, more acute triangle, which is the base of the snowflake design.
Step 5: Cutting the Snowflake
Here’s where the children can really express their creativity. Show them how to cut small shapes – triangles, half-circles, or squares – out of the sides of the triangle. Remind them not to cut all the way across, as this will chop the snowflake in half.
Step 6: Unfolding the Magic
Carefully unfold the paper to reveal the snowflake. Assist the children if needed, as this step requires a gentle touch.
Step 7: Decoration (Optional)
If desired, the children can further decorate their snowflakes with glitter, markers, or crayons, adding a personal touch.
Step 8: Display the Snowflakes
Finally, you can hang these snowflakes in the classroom or at home. Attach a piece of string to the top of each snowflake using tape or a stapler, and hang them from the ceiling or on a wall.
Conclusion:
Paper snowflake making is more than just a craft; it’s a wonderful way to celebrate the unique beauty of winter while fostering creativity and dexterity in young children. Each snowflake they create will be as unique as they are, making this a truly special activity for the festive season.
Recent Comments